Painting the interior of your home can breathe new life into your space, whether you're refreshing a single room or
revamping the entire house. But before you crack open that first can of paint, proper preparation is key to a successful, stress-free project. Here are 10 essential tips to help you get ready for an interior painting project like a pro.
1. Choose the Right Paint
Before you do anything else, decide on the type of paint and finish. For interior walls, latex-based paints are common due to their durability and ease of cleaning. Consider finishes like:
Matte or Flat: Hides imperfections, but harder to clean.
Eggshell or Satin: Great for living rooms and bedrooms.
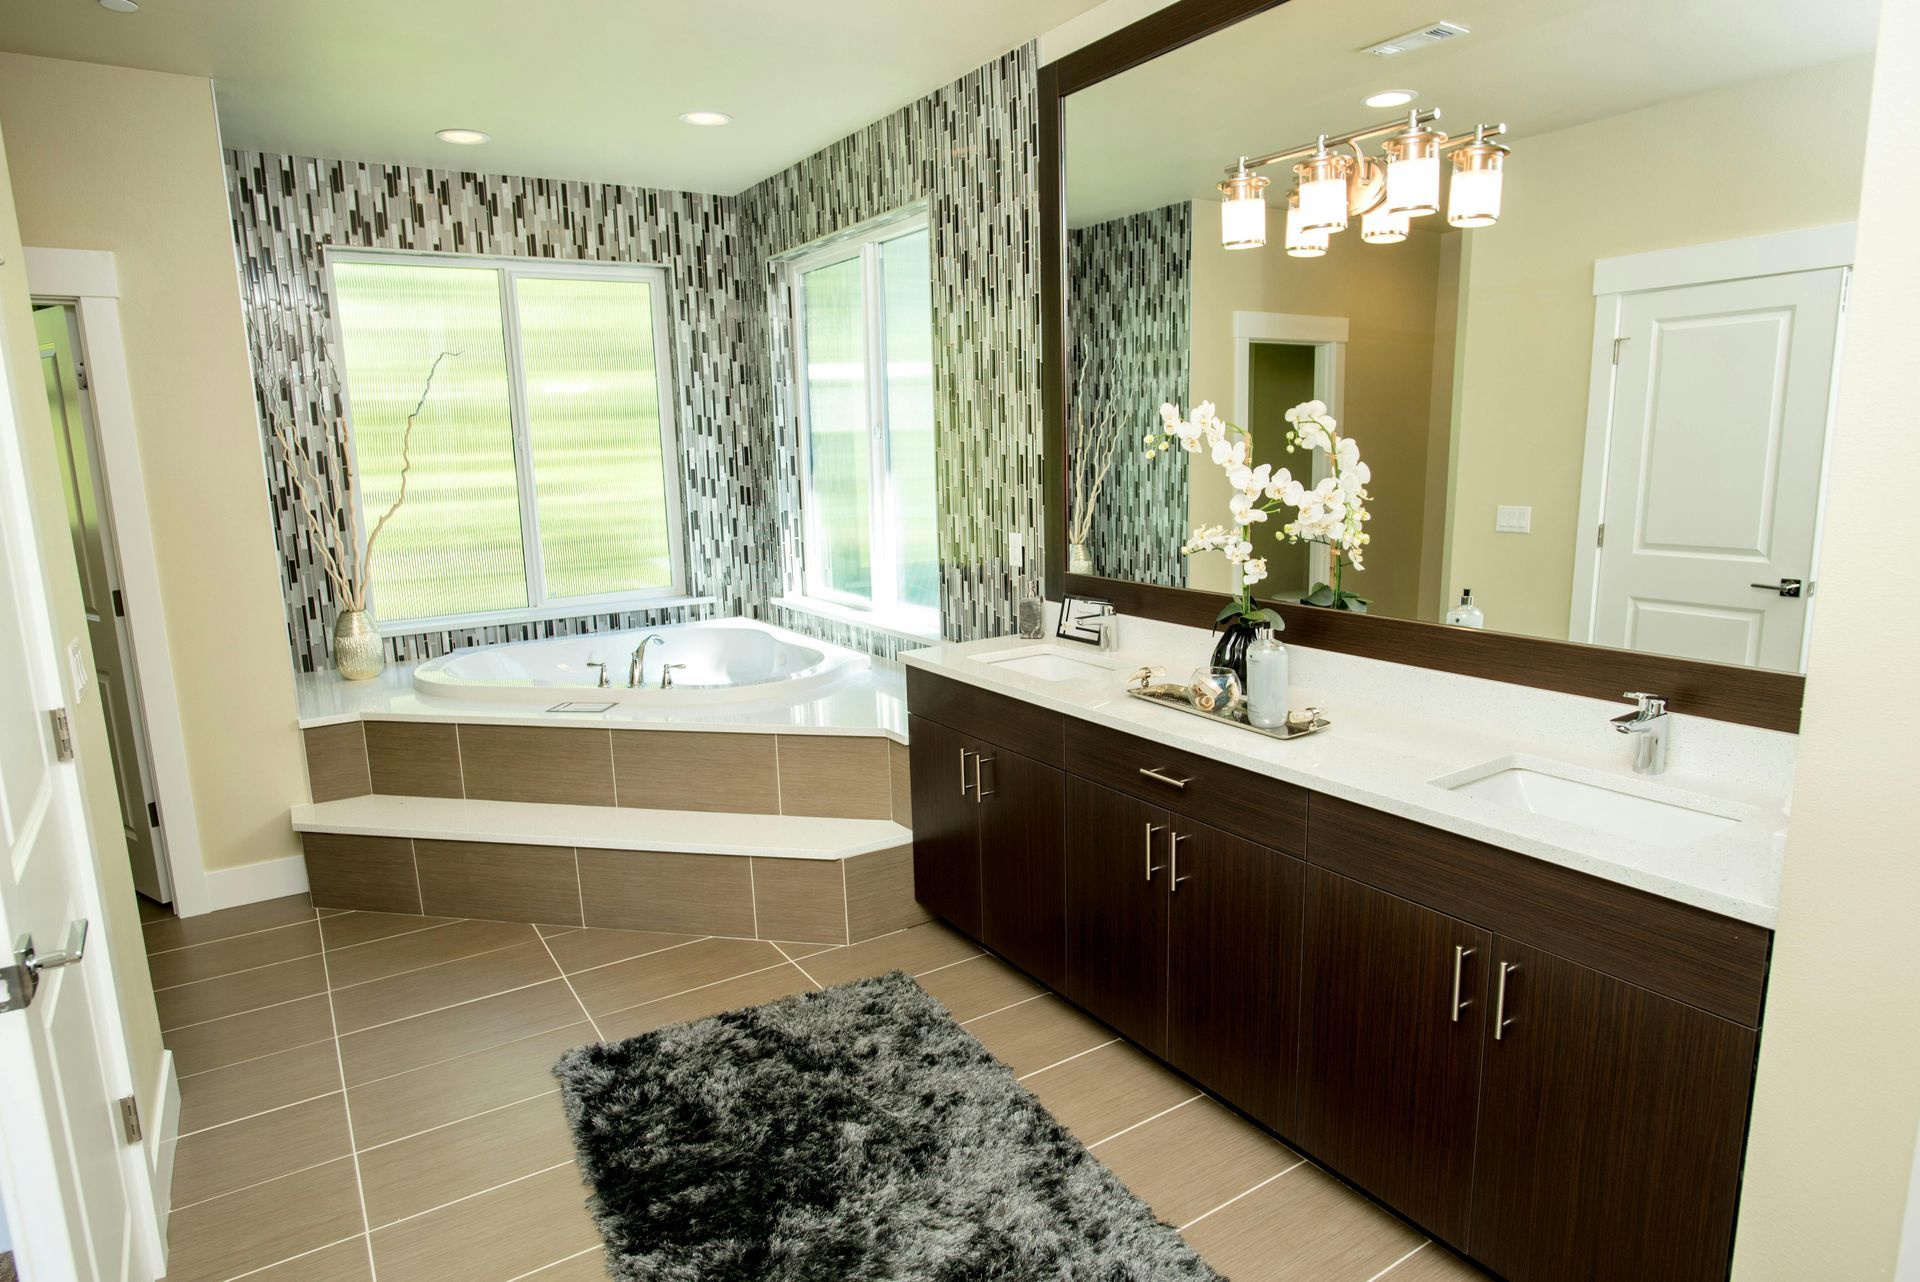
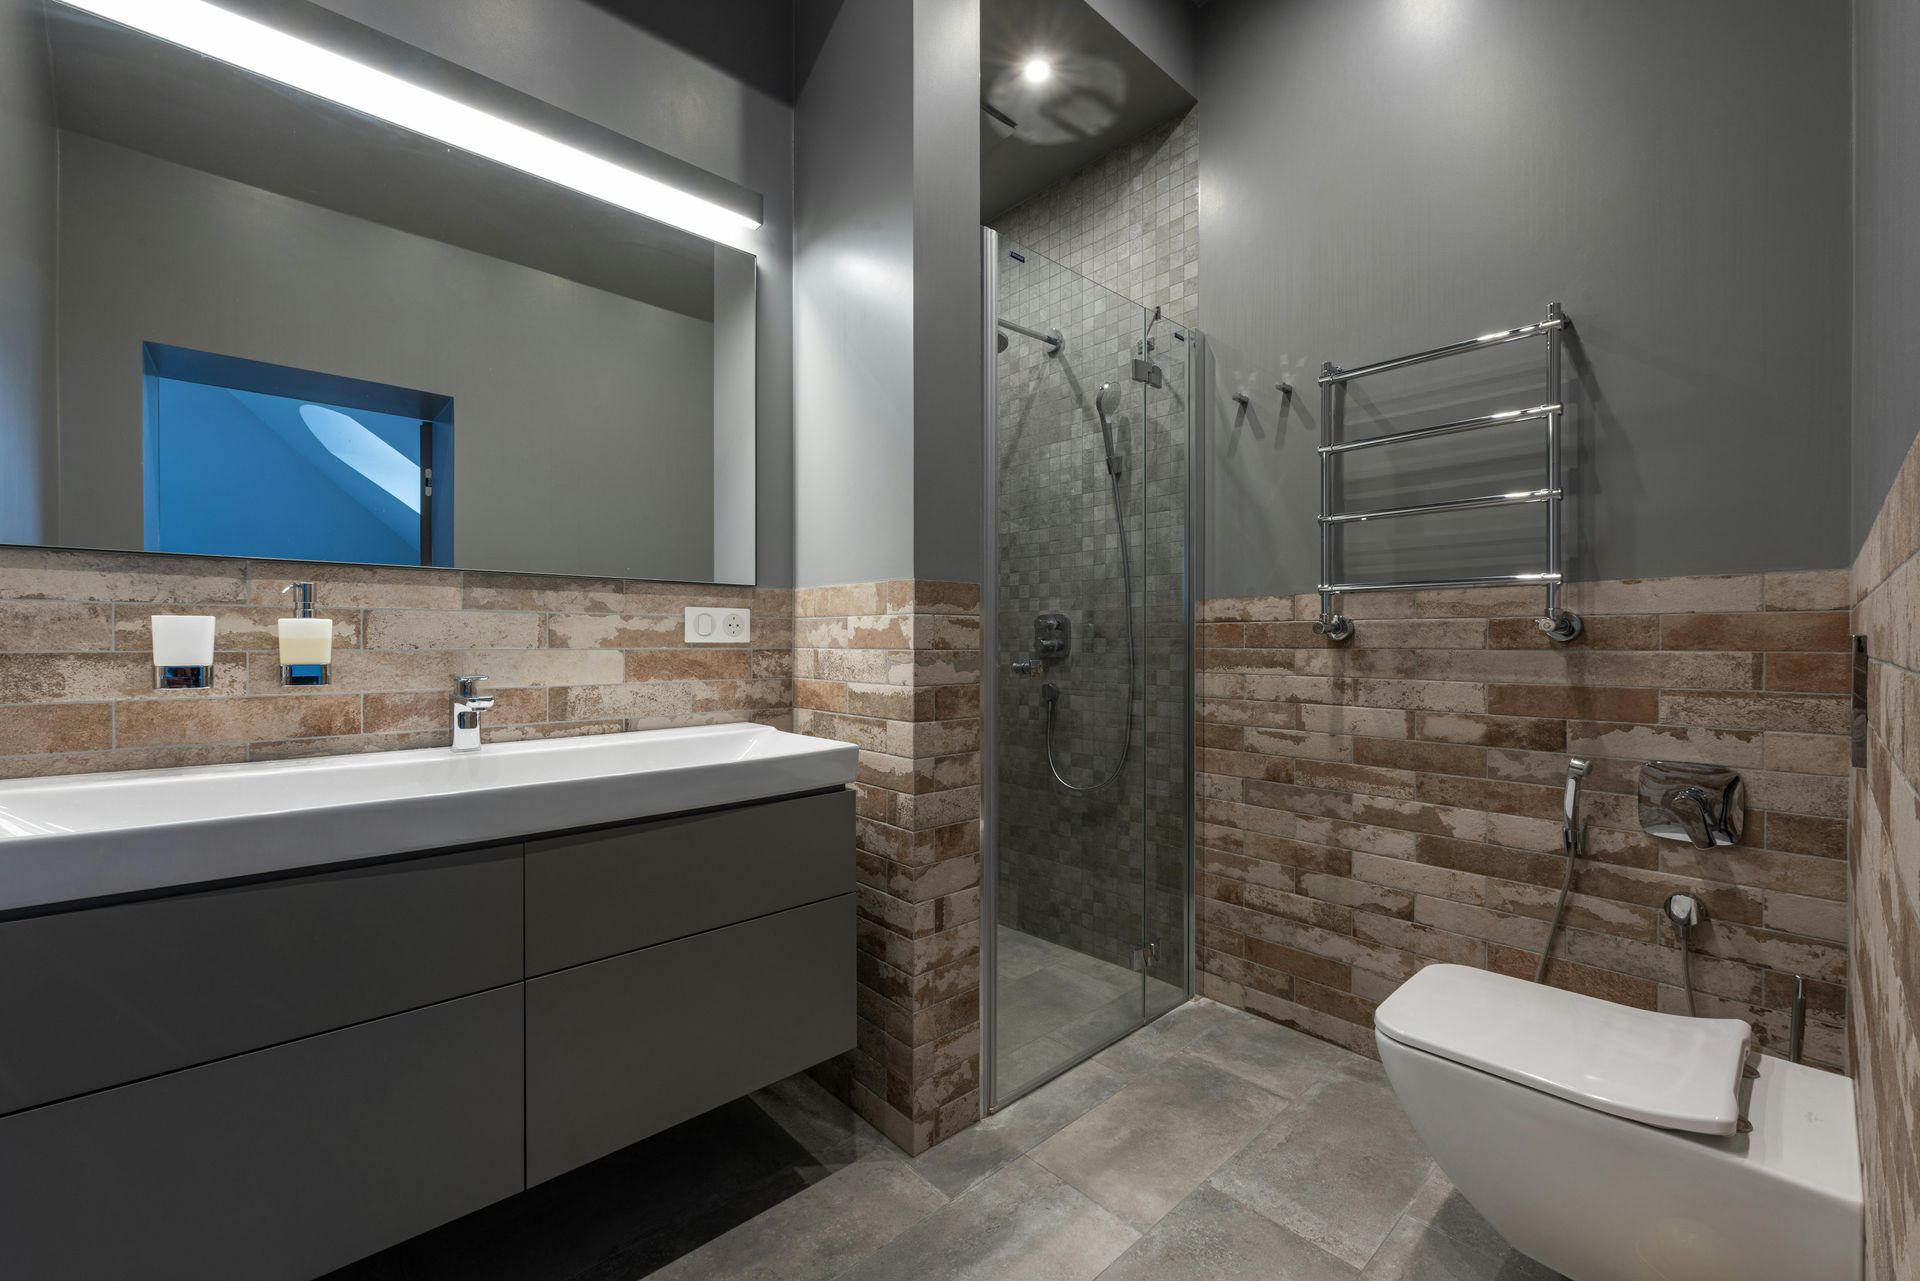
Semi-Gloss or Gloss: Ideal for kitchens, bathrooms, and trim due to higher moisture resistance.
Don't forget to test colors with swatches before committing to a full gallon.
2. Gather Your Supplies
Make a checklist of all necessary materials to avoid last-minute hardware store runs. Typical items include:
Paint and primer
Paintbrushes and rollers
Painter’s tape
Drop cloths or plastic sheeting
Paint trays
Ladder or step stool
Sandpaper and spackle
Cleaning supplies
3. Clear and Protect the Room
Move furniture out or to the center of the room and cover it with plastic or canvas drop cloths. Remove wall décor, window treatments, and light switch covers. Protect floors with rosin paper or drop cloths.
4. Clean the Walls
Dust, dirt, and grease can prevent paint from adhering properly. Clean walls with a mild detergent solution and let them dry completely. Pay extra attention to kitchen and bathroom walls where residue tends to build up.
5. Repair and Sand Surfaces
Fill holes, dents, or cracks with spackle or joint compound. Once dry, sand smooth and wipe down with a damp cloth to remove dust. For glossy surfaces, lightly sand to help the new paint adhere better.
6. Use Painter’s Tape
Apply painter’s tape to edges, trim, window frames, and fixtures to ensure clean lines and prevent paint from bleeding onto surfaces. Press the tape down firmly to avoid seepage.
7. Prime the Walls
Priming helps create a uniform surface, especially when covering dark colors or painting new drywall. Some modern paints include primer, but for best results—especially with stains or dramatic color changes—use a separate primer.
8. Ventilate the Area
Open windows and use fans to ensure good air circulation. Not only does this speed up drying time, but it also helps dissipate any fumes, even when using low-VOC or zero-VOC paints.
9. Plan for Drying Time
Check the paint can for drying and recoat times, and plan accordingly. Avoid touching or replacing items too soon, as this can mar the finish.
10. Do a Test Patch
Before going all in, paint a small section of the wall and let it dry. Observe how it looks in different lighting throughout the day. This can prevent disappointment with how a color appears in your space.